Introduction
Deploying Go applications doesn’t have to be complicated. In fact, Go makes deployment simple and efficient. Whether you’re deploying a Go web app, a REST API, or any Go project, there are two primary methods: running the compiled binary directly or using Docker. Both approaches are straightforward, and we’ll cover them in detail.
Additionally, we’ll guide you through deploying your Go application on a VPS by DigitalOcean, making it easy for running in production.
What You’ll Learn
- Building Go binary for any OS
- Containerization with Docker
- Deployment in a VPS or any environment
Pre-requisites
- Install Go (preferably the newer version)
- Docker
- Git
Building a basic Go Rest API
Run:
go mod init https://github.com/your-username/go-apiThis will create a go.mod file.
Working on main.go file
package main

import (
	"encoding/json"
	"log"
	"net/http"
)

func handler(w http.ResponseWriter, r *http.Request) {
	w.Header().Set("Content-Type", "application/json")
	w.WriteHeader(http.StatusOK)

	json.NewEncoder(w).Encode(map[string]string{"message": "OK"})
}

func main() {
	http.HandleFunc("/", handler)

	log.Println("Running on port 3000")
	http.ListenAndServe(":3000", nil)
}
If you’re new to building APIs in Go Check out, How to Create a CRUD application with Golang and MySQL.
Testing locally
First, we need to build the go binary to run it.
go build -o go-apiYou should see a new file named go-api. This is our executable binary, to run this:
./go-apiThat’s it.👍
Method 1: Deploying as a Binary
This is the easiest and simpliest solution, but you need to manage restarts if any error occurs, etc yourself.
Compiling the project
You can even be specific and build the binary for any specific OS.
GOOS=linux GOARCH=amd64 go build -o go-apiTransfer the binary to a server
You can directly transfer this binary where you’ll be running your application and just run it directly.
Though this is simple but not a realistic production approach. We’ll later implement better ways of doing this.
Method 2: Deploying with Docker
This is a more preferred approach as docker handles auto restarts, isolation and re-deployments easily.
Create a Dockerfile
To start, create a file called Dockerfile in the root of your project.
FROM golang:1.23-alpine AS build

WORKDIR /app

ENV GO111MODULE=on
ENV GOOS=linux
ENV GOARCH=amd64

COPY . .

RUN go mod download
RUN go build -o go-api

FROM alpine:3.14

WORKDIR /app

RUN adduser -D user

COPY --from=build /app/go-api ./go-api

RUN chown user:user go-api

USER user
EXPOSE 3000

CMD ["./go-api"]
What did we do?
In this Dockerfile, we created a multi-stage build for our Go application.
First, we used the golang:1.23 image to build the application, setting up the working directory and ensuring Go modules are enabled. We copied the entire source code, downloaded dependencies, then built the binary.
In the second stage, we switched to an alpine:3.14 image for a lightweight production environment. We created a non-root user for improved security, copied the built binary, changed its ownership to the new user, and set the application to run under this user.
This approach ensures a small and secure container for deployment.
Building the docker image
To build the docker image, run:
docker build . -t go-api:1.0.0Be sure to use a .dockerignore file to exclude unnecessary or sensitive files.

Now, you can easily push this image to any container registry like GHCR (Github Container Registry).
Running the docker image
To the run the built image, we can either use a CLI command or a docker-compose.yml.
Via CLI
docker run go-api:1.0.0Doing this is ok, but gets a bit hard to control.
Via Docker Compose
Create a file called docker-compose.yml
---
services:
  go_api:
    container_name: go_api
    image: go-api:1.0.0
    ports:
      - "3000:3000"
    environment:
      - MODE=production # You can pass env vars here.
    restart: unless-stopped
Run:
docker compose up -dNote: Be extra cautious here if you’re deploying this in a VPS, anyone will be able to access via ip:3000 and no firewall is going to work as docker manages it’s own network.
Deploying the Go Application on DigitalOcean VPS
If you’re new to deploying applications in the cloud, DigitalOcean is a great choice for hosting any application. With just a $4 VPS, you can run multiple apps or services with a bit of manual work. Plus, if you sign up using my affiliate link, you’ll receive a 60-day free trial with $200 in credits to get you started!
Creating a Droplet
Assuming you’ve an account in digital ocean. Let’s continue by creating a droplet which is just a VPS.
-
On the top click Create and choose Droplets option.
-
Choose a region:
Choose a region where you want to deploy your droplet, this can be closest to your users for low latency.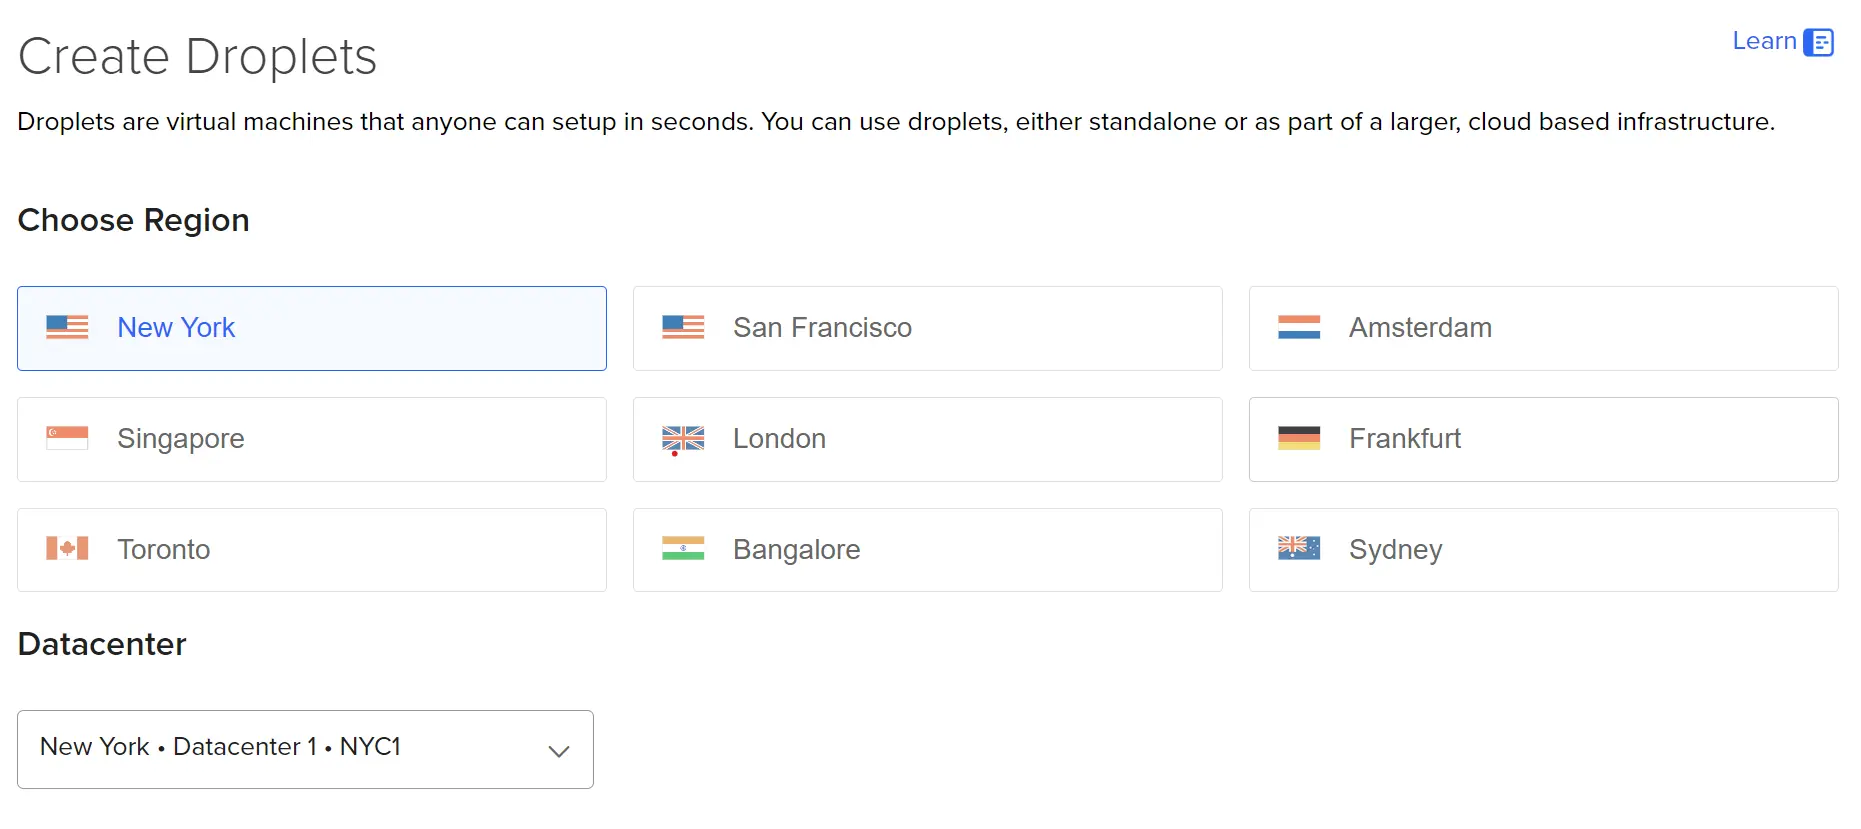
-
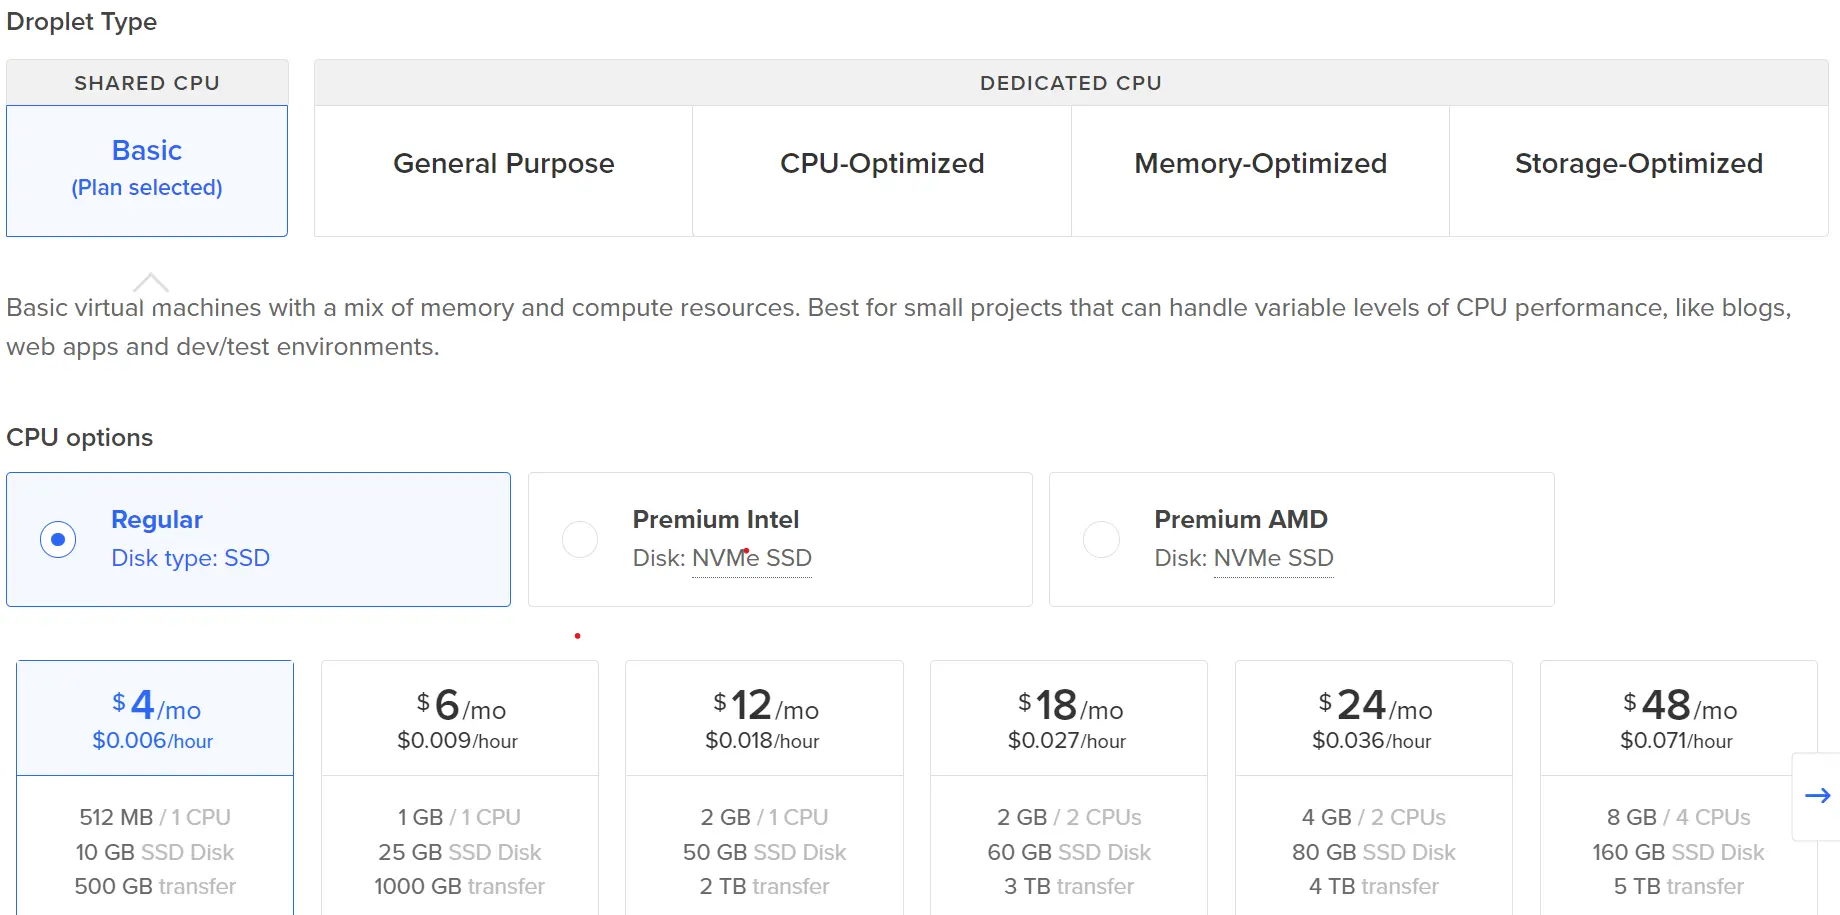
Choose a plan:
Choose the plan based on the resources you need, you can always increase it later.
-
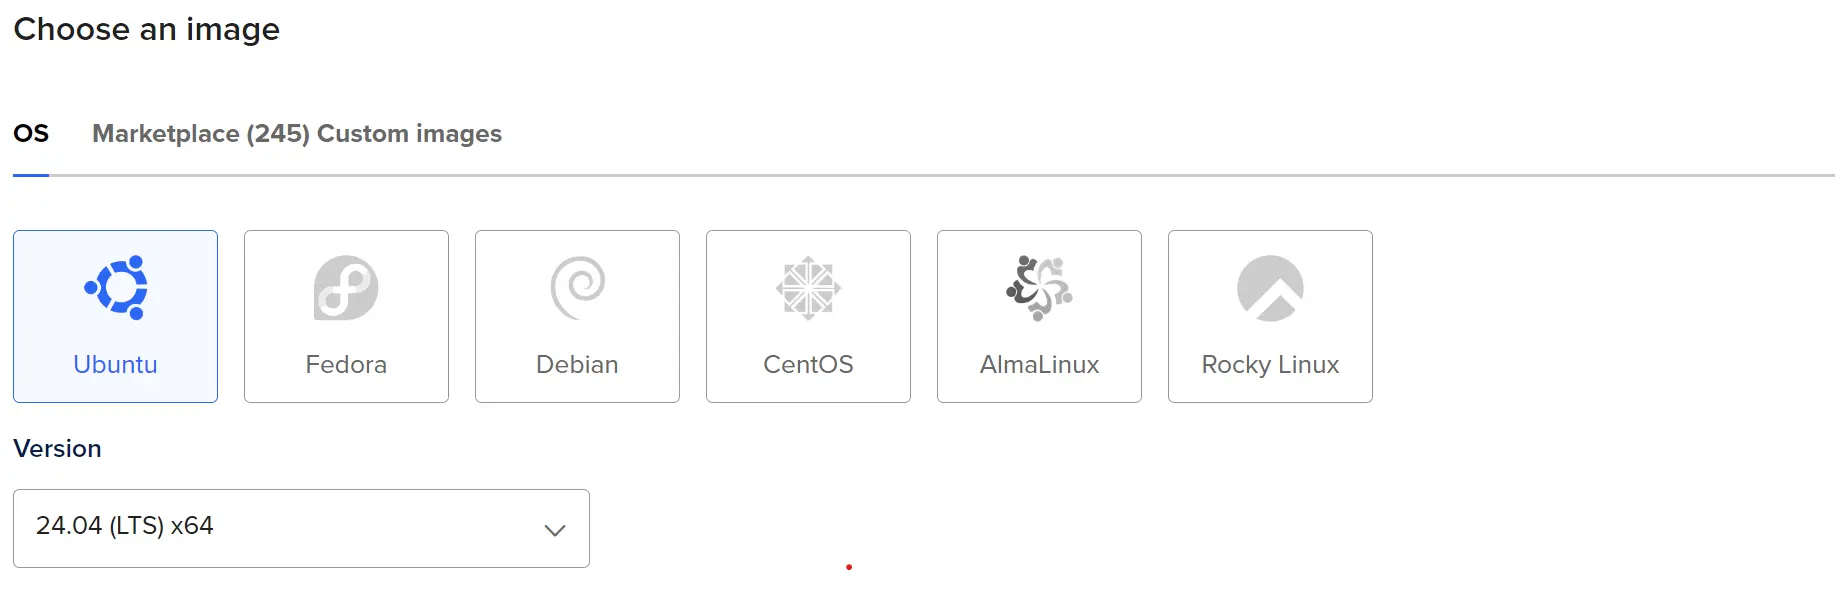
Choose an image:
You can choose whatever you like or most familier with, for this example we’ll use Ubuntu.
-
Create SSH Keys:
You should always rely on public and private keys for SSH access. Only choose the password option for testing not in production.
For this step, follow this simple guide by Digital Ocean.
Now, on the bottom right click the Create Droplet button.
We’re done creating our droplet, next we’ll setup our VPS and deploy the Go Application.
Setting Up the VPS Server
First, SSH into your droplet.
ssh root@droplet_ipUpdating Packages and Repositories
After SSH-ing into your Droplet, the first step is to ensure that your package manager and repositories are up to date. Run the following commands:
sudo apt update
sudo apt upgrade -y
Approach 1: Cloning the Git Repository and Building the Go Application Manually
- Clone Your Repository: Use Git to clone your Go application repository:
git clone https://github.com/your-username/go-api.git
cd go-api
For this step, follow previous section as we’ve disscussed it earlier.
You might consider creating a script to automate this process. However, keep in mind that this approach requires Git and Go to be installed on your Droplet, as well as setting up your application as a systemd service for better management. This way, your application can automatically restart after a failure or when the server reboots.
Approach 2: Deploying with Docker
Next, you’ll want to install Docker. Follow the official Docker documentation for detailed installation instructions based on your Linux distribution.
-
Using Docker simplifies the deployment process significantly, as it encapsulates your application and its dependencies into a container.
-
Pull the Docker Image: You can pull the Docker image from a container registry like GitHub Container Registry (GHCR):
docker pull ghcr.io/your-username/go-api:1.0.0Next, follow the previous section where we disscussed this earlier.
In future, you can automate the deployment via CICD by using github actions.
Security Considerations
-
Exposing ports directly like this can be a security risk. It’s highly recommended to use a reverse proxy like Traefik, which works seamlessly with Docker images with SSL/TLS Certificates.
-
Avoid using password-based SSH access in production.
-
Configure your firewall to block all ports except 80 (HTTP) and 443 (HTTPS).
-
Never expose ports via docker containers like this
ports:
  - "3000:3000"
Doing so allows the container to bypass any firewall rules set on the host. If you must have external access to a container, do it like this:
ports:
  - "127.0.0.1:3000:3000"
This configuration binds the service to localhost, preventing access via
ip:3000from outside your server.
Conclusion
In this guide, we covered how to deploy a Go application on a VPS using two approaches: manually building the binary and using Docker. Each method has its own benefits, and you can choose the one that best fits your needs. As you grow more comfortable, you might explore additional automation and security practices to enhance your deployment strategy.